 Towing
Insights
Contact
BOOK NOW
Towing
Insights
Contact
BOOK NOW

☰
×
You have just purchased a car, or you are just interested into the world of cars; it is a good idea to know what goes on during tire mounting. Tires on your car are important as they are mounted properly to ensure that your performance and safety of your car and its longevity are obtained. Maybe you are a novice in this, and the process might sound a bit intimidating, but do not worry. We have done that down to very easy steps to follow with some few expert ones to help you.
As the only element of your car to be in contact with the road, tires are an important detail as well as their installations. Installation of a tire improperly may lead to:
Getting to know the ins and outs of a tire mount can be the key factor that will help you identify a problem in its early stages or even help you perform a tire mount procedure by yourself (there is a chance that you might be ready to do it).
Tire mounting is the process of positioning a tire onto a wheel (or rim) and mounting it so that it is securely fastened, has the correct seal at the interface between the tire and the wheel (or rim) and is inflated. This should not be confused with tire balancing, which changes the weight distribution around the tire to prevent vibrations.
Mounting tires is usually performed by professional service workers using the appropriate equipment, but familiarity with the processes can keep you informed of what goes on when they perform this service or even perform it yourself under unusual circumstances.
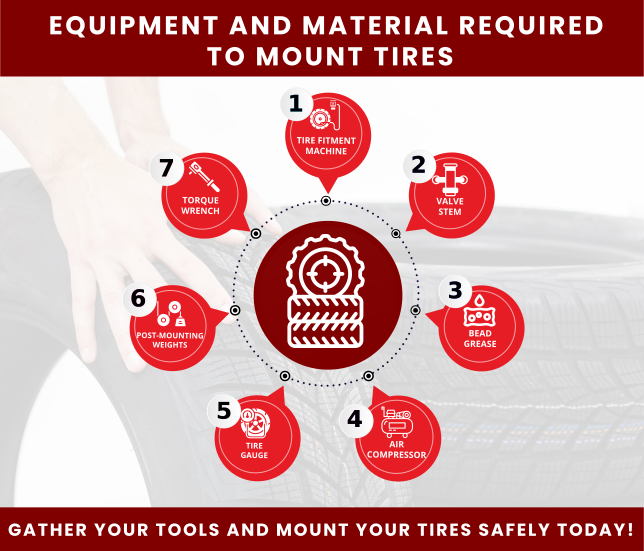
Whether you are mounting tires or buying tires, here is what is normally needed to get a good mount:
When you are mounting tires at home, ensure you use a stiff jack, and jack stands to be able to do it safely.
In case you are changing an old tire, the procedure starts with getting it out of a vehicle and a wheel:
You do not necessarily need a bead breaker, some DIYers have been known to use a plank and a car to apply weight to the sidewall of the tire. Take care though you do this.
Loosen the old tire off the rim by either applying tire irons or the tire mounting machine. This normally entails:
Be careful and do not cut the edge of the wheel or the new tire bead.
After removing the tire examine the rim:
Scrub hard stuck-on dirt using a wire brush. The cleaner the wheel, the better exhaust surface can be formed between the tire and the rim.
Put in the new valve stem:
Make sure that the metal valve stems are tightened to the specified torque of the manufacturer.
Put tire bead lubricant or soapy water between the two beats (inner edge) of the new tire. This allows manipulation of the tire to fit over the rim more easily and can aid in avoiding damage to the beads when mounting.
Do not use petroleum-based products. They are capable of deteriorating rubber with time.
Here is where the actual mounting starts.
Proceed slowly to ensure that you do not break the bead or the tire construction.
It is time to fit the tire on a rim now:
Be careful not to get anywhere near the sidewall when inflating. In case of a faulty bead, it can go off with serious force.
Use a tire gauge to see that the pressure of the tire reaches the manufacturer-recommended PSI (written on your car door sticker or in the manual).
Always avoid overinflating or underinflating tires as either would lead to tire wear, unsafe driving conditions.
Even though not strictly considered a mounting process, tire balancing ensures easy driving and even wear of the tires.
Unbalanced tires may cause vibrations of steering wheels especially at high speeds. Inquire to have the tires balanced each time they are mounted.
You are good to go!
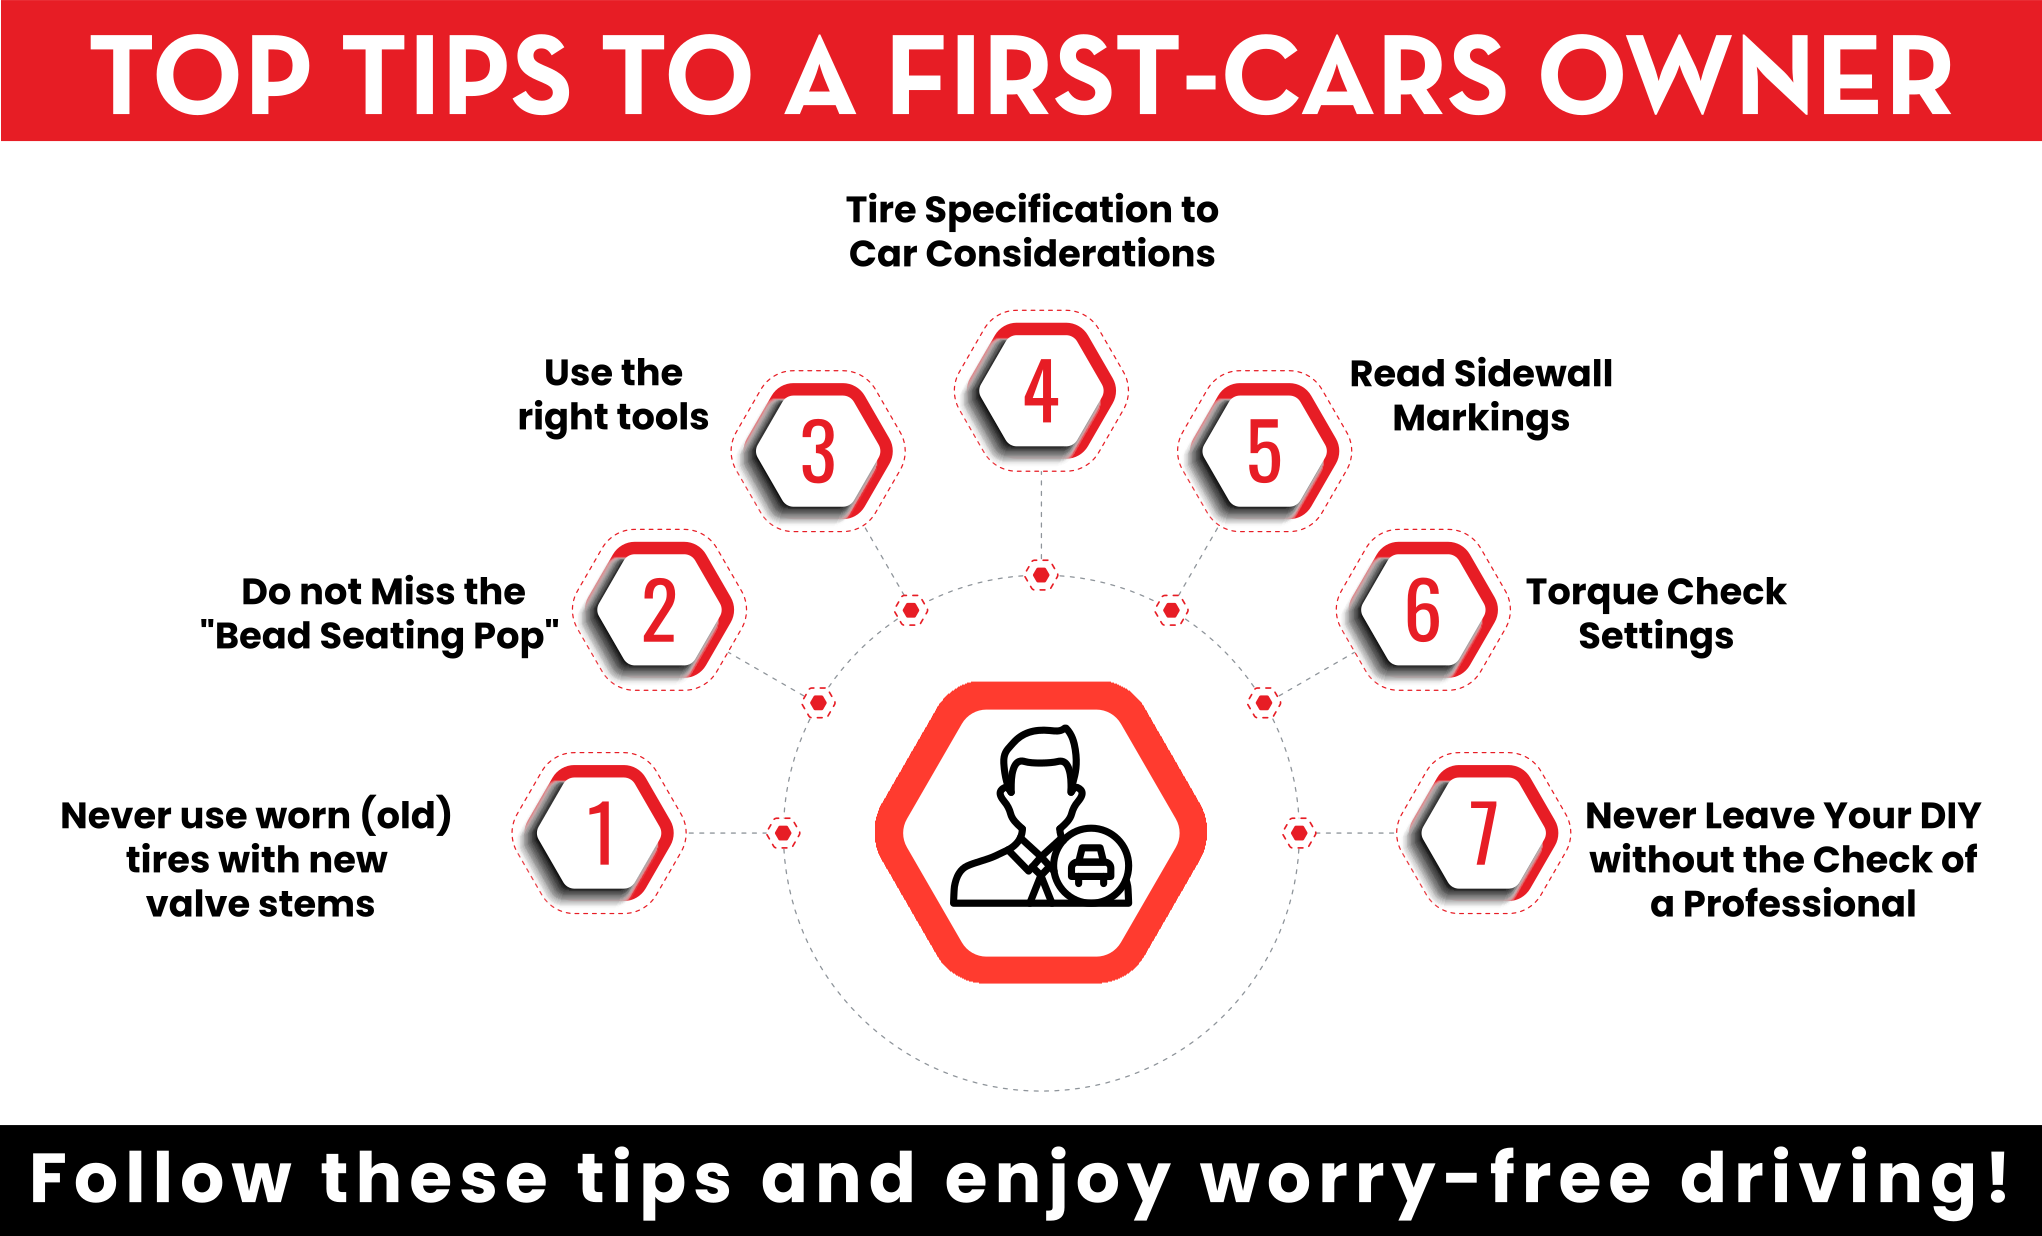
Valve stem is also subject to wear which may allow air leakage resulting in early deflation.
It is a good indication when you hear that popping sound during inflation. When it fails to happen, stop and re-check alignment.
Although improvising can be used in emergencies, the right equipment will guarantee safety and accuracy.
It is important to refer to your owner or tire specification in case of a tire purchase or mounting.
There is crucial information on the manual for the sidewalls of tires:
Lug nuts should not be overtightened because this may break threads or break parts of the brake. It is always important to use a torque wrench.
Although it is possible to mount tires yourself, it is prudent to have them inspected with the help of a professional because of safety issues.
In some cases, you may change the tire completely, particularly in case you find the following:
| Factor | DIY | Professional |
| Cost | Affordable | Expensive |
| Equipment | Need to purchase different tools | Already available/ provided by the shop |
| Time | Drags and delays | Fast and effective |
| Precision | Varies | Impactful |
| Balancing | May need for tools | Provided with the service |
One of the most significant car maintenance tasks is tire mounting, and it does not have to be a subject of mystery. It does not matter whether it is to replace a standard tire, switch to winter tires, or to simply learn the basics; be aware of this process and it will last your lifetime.
Learn what you should do and use proper tools and finally, ask a specialist when you are not sure. With time, you will become more confident in taking up the control of safety and performance of your vehicle.
Need some expert help? Try Berks Auto Repair
Call At Berks
It takes a professional anywhere between 45 minutes and 1 hour to mount and balance four tires. Depending on experience, DIY mounting can be time consuming.
Sure, you could with manual tire irons and a lot of leg work, but it becomes incredibly more difficult and dangerous when one has never done it before.
The cost of mounting tires would run you a range of 15 to 25 dollars. Unless packaged, balancing can be done at an additional fee.
Yes. Brand-new tires may still carry weight imbalances, which impacts the level of comfort and safety in the driving process.
The tire is mounted on the wheel with mounting. Alignment corrects your angle of suspension to provide uniform tire wear.